Package theft is becoming a major problem in the North Seattle area. A good way around this is to have shipments sent to a PO box, a rented mailbox or to your place of work. You may still have sensitive materials being sent to your home mailbox even if you try to have it all sent elsewhere though, and with identity theft on the rise you will want a secure mailbox.
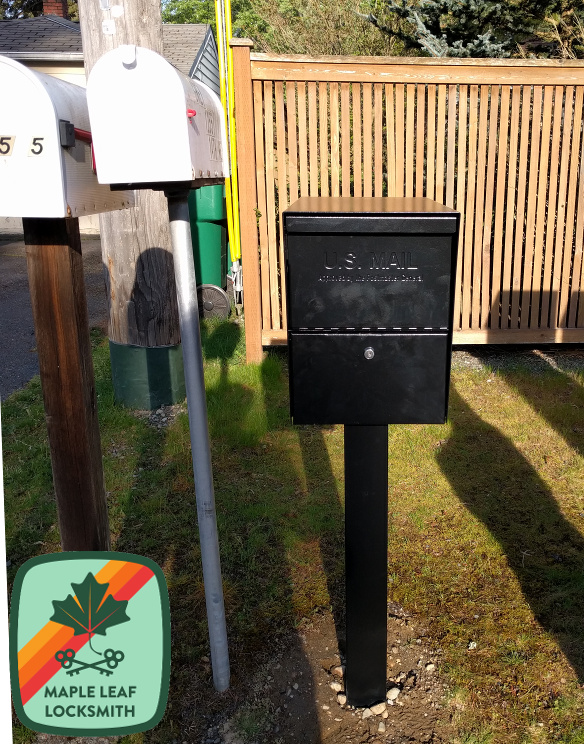
I am a dealer of the The Mail Boss high security locking mailbox. It is the only mailbox I recommend to people who have security concerns for their mail. Lesser mailboxes such as those at Home Depot or Lowe’s have locks but are constructed of thin plastic or metal. It is very difficult to break into one of these mailboxes, even with a wrecking bar. The locks are also difficult to pick and require different tools than regular lockpicks. More importantly, these locks utilize a hookbolt making it much harder to pry the box open.
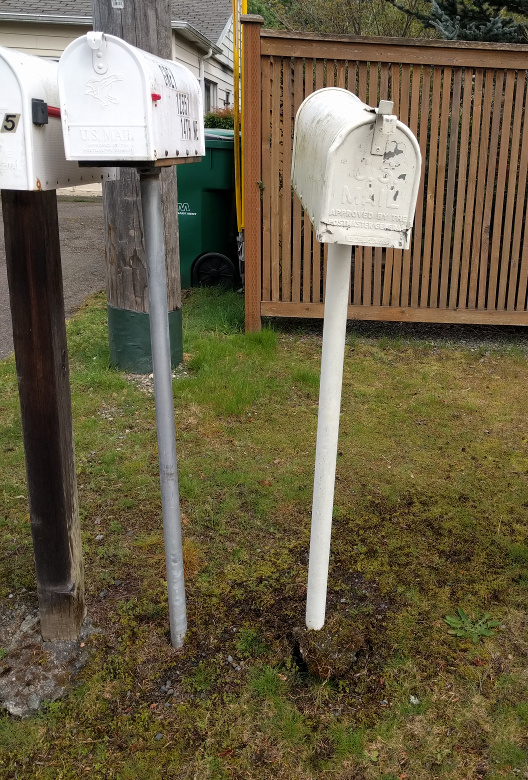
Your existing mailbox may be improved upon by putting a better lock on it as well. You yourself can do this. If you are even a little handy with a socket set, you can install anti-tamper bolts on your mailbox if there are exposed screws too. The best mailbox lock in the world is of little benefit if the whole mailbox can be taken, and a nice expensive looking mailbox in a nice neighborhood may just be worth it to a criminal to take.
If you want to install your own high security mailbox then read on. The easiest thing to do is buy a Mailboss mailbox and install it in place of your old mailbox. If your old mailbox was on a rickety old post or platform then you might need to replace it. The Mailboss screws down with four lag bolts. It comes with a drill bit but if you are installing the lag bolts into a pressure treated 4×6 then make sure to use a smaller diameter drill bit and get longer lag bolts than come with the mailbox. I recommend some six inch long lag bolts. Sidestep this problem by buying the post from Mailboss.
Put a tarp down next to where you want your mailbox. Dig a post hole with some posthole diggers where you want the mailbox, and put the dirt on the tarp to maintain your lovely landscaping around your mailbox. You could use a shovel but then you have to use more concrete and/or backfill the hole. I dig a hole 3.5 feet deep, dump a bag of gravel in the bottom for drainage purposes, and then put the post in. If you are using your own post, use a pressure-treated post that is rated for use in dirt. You will probably have to cut the post to size because the USPS is specific about how high the mailbox is off the ground (41-45″) and also how far from the edge of the road it is (6-8″). Stick the uncut side of the post in the hole, not the cut side. The cut side exposes wood that is not treated and allows the wood in the middle of the post to rot from the inside.
Here are directions from the manufacturer of Quikrete for how to properly set up a post:
Dig a hole that is about 3 times the diameter of the post with a depth of 1/3 the overall post length. Place 6″ of gravel or crushed stone at the base to aid in drainage. Position the post and check that it is straight. Pour the QUIKRETE® Fast-Setting Concrete Mix dry from the bag into the hole until it reaches 3 to 4″ from the top. Pour water onto the dry mix and allow it to soak in. Add water until the powder is thoroughly wet. This will take about one gallon of water for each 50 pound bag depending on soil conditions. If the hole is deeper than 2 1/2′, do the operation in lifts of no more than 2 1/2′ each. Fill the remainder of the hole with soil or the sod dug from the hole.
Make sure the post is sitting on the gravel to allow water to drain away from it. Position the post where you want it, making sure it is level. Then pour a 60 Ibs bag of quikrete around the post. Make sure that the post is still where you want it and is level on both sides. Be careful because the post may be warped, check multiple places on the post especially if you are using a torpedo level instead of a longer one. Also make sure that the post doesn’t look strange because other objects around it are not level. You may want to make your post not level if it looks odd and surrounding objects are only a few degrees off.
Once you are satisfied, pour a gallon of water around the post. Make sure to rinse the concrete off of the post above ground level or it will stain. Let the concrete absorb the water for twenty minutes before backfilling the dirt. This is a great time to get rid of big rocks or chunks of broken concrete or bricks by throwing it into the hole. Check the post to make sure it is level before walking away. Quikrete is supposed to harden after an hour but if you used regular concrete or have the time leave the post alone for 48 hours before attaching the mailbox.
Thanks for information on setting posts in concrete goes to Jim Bowman of AAA Fencing in Olympia, WA for the best hands-on training in post-setting in addition to ripping boards with a circular saw. Give it to me, El Capitan!
Now screw your mailboss or other mailbox down onto the post with the included directions. Don’t forget to put the extra keys in a safe place, these keys are not easily duplicated.